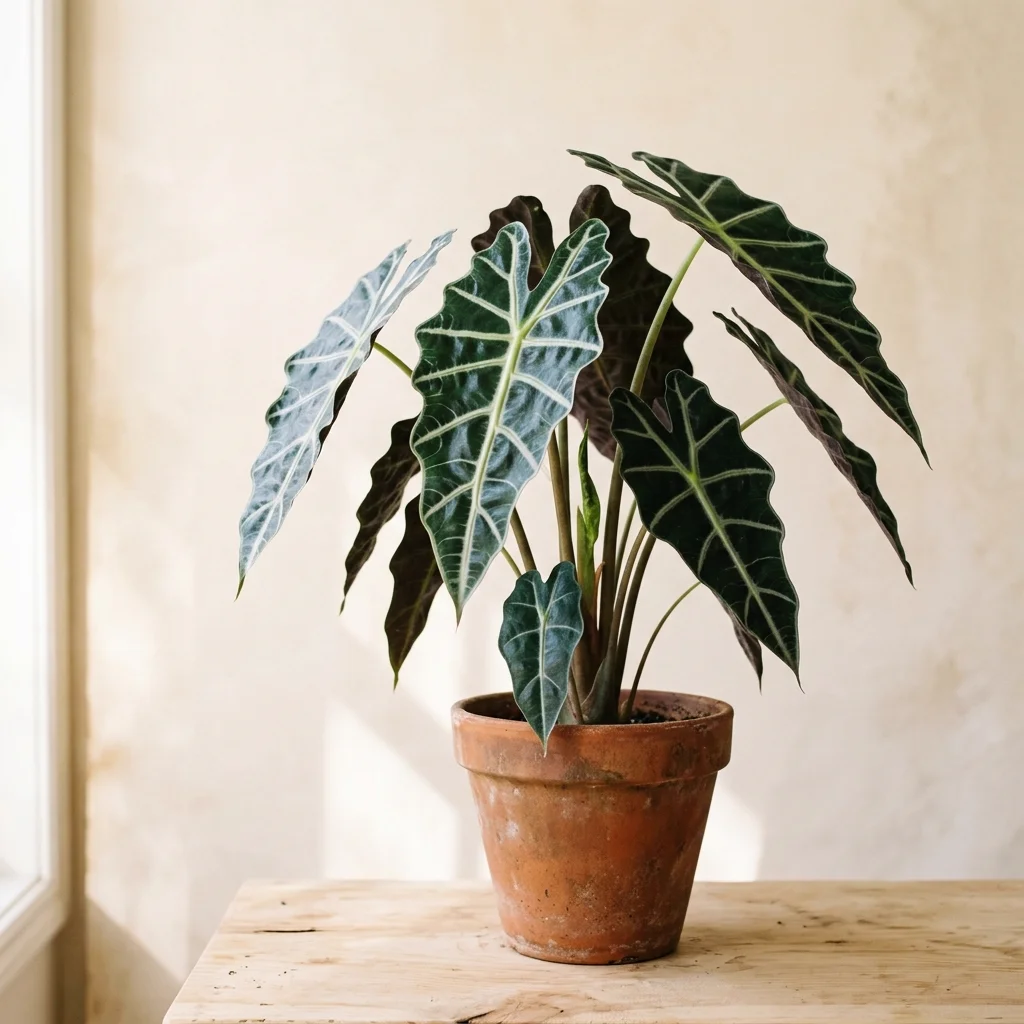
An Alocasia that loses a leaf needs a condition check before more water. Record which leaves changed, whether the pot is drying, and whether the stalk bases or storage tissue are soft. Slow seasonal growth, shipping damage and decay call for different responses; leaf loss alone cannot distinguish them.
Identify the plant and its growing system
Alocasia is a genus, not one identical houseplant. Keep the species or cultivar name from the seller. NC State lists the familiar Amazonica type under Alocasia × mortfontanensis, with Alocasia × amazonica as a previous name. A label such as “elephant ear” can also refer to a different genus.
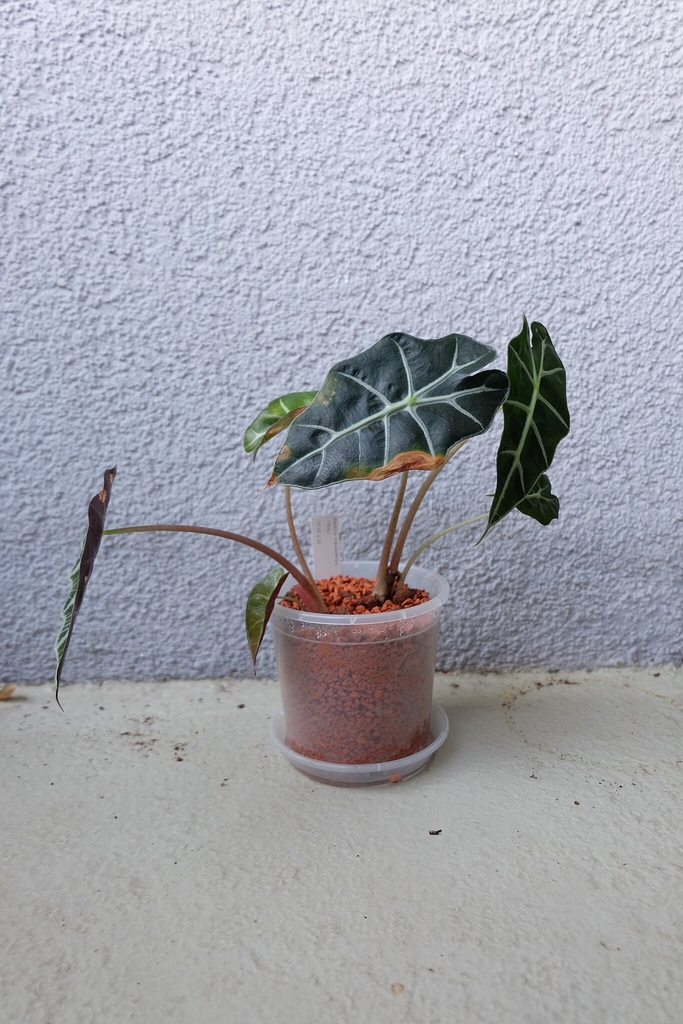
This guide is for established indoor Alocasias, principally in draining potting mix. A newly deflasked tissue-culture plant, a detached corm and an established plant in semi-hydroponics need different handling. Ask the supplier about the starting stage; do not move between those systems merely because an existing leaf is yellow.
Set up light, warmth and drainage together
The RHS Alocasia guide describes bright indirect light, warmth and reduced watering when growth slows in winter. NC State’s Amazonica profile also warns that direct sunlight can scorch leaves. An indoor plant suddenly moved into strong sun is not receiving the same exposure as one grown there gradually.
Check the actual position over the day. Watch for direct rays, a cold window surface and hot or cold air outlets. Place a thermometer at plant level if temperature is uncertain. Keep the pot accessible enough to inspect its underside and drain it; a beautiful outer container is a poor fit if you cannot remove the nursery pot.
Humid air and wet roots are separate conditions. Read the humidity guide before increasing room moisture. A demand for very high whole-room humidity can be incompatible with the household; choose a plant or growing setup you can maintain.
Water for the active plant and its actual pot
For an actively growing plant in mix, aim for useful moisture with drainage rather than a saturated pot. The RHS uses drying in the upper portion of the compost as a watering cue. Check more than the appearance of the surface when a large pot or dense nursery mix could still be wet below.
- Lift the nursery pot, if practical, and inspect moisture in accessible areas below the surface without damaging roots.
- Check whether the plant is producing new growth and how the pot has dried since the last watering.
- When watering is needed, wet the mix and let the excess leave through drainage holes.
- Empty the saucer or outer pot, then record what you did.
A finger test and pot weight are observations you learn for this container, not universal numbers. A moisture meter does not replace drainage and root checks when the readings conflict with persistent decline. Use the general watering guide to establish a record.
Leaf loss: choose the check from the pattern
| Pattern you observe | Check next | Avoid assuming |
|---|---|---|
| One older leaf declines while new growth continues | Moisture, pests and whether the change remains isolated | That one yellow leaf proves a nutrition emergency. |
| Leaves decline after delivery or a move | Arrival photos, temperature exposure, broken tissue and the new position | That every shipping loss is harmless acclimation. |
| Growth slows as the room becomes cooler or darker | Temperature, light and how slowly the medium now dries | That the previous watering amount is still appropriate. |
| Several stalks collapse and the medium remains wet | Collected water, stalk bases and root condition | That reduced growth proves dormancy. |
| New stippled patches or webbing appear | Undersides, stalk joints and pest identification | That raising humidity will remove an infestation. |
Photograph the whole plant and affected leaves before changing several things. For a new purchase, keep the seller’s arrival instructions and contact them about serious damage. Do not wait for a promised recovery deadline while deterioration continues.
Dormancy is a possibility, not a diagnosis from yellow leaves
The RHS describes a winter rest with reduced watering. In your home, record the actual changes in light, temperature and growth; the season alone cannot explain a collapsing stalk. A plant under steady artificial light and warmth may not behave like one at a winter window.
When growth has slowed, the medium often needs less frequent attention to watering than it did during active leaf production. Check its moisture rather than replacing the old schedule with another fixed one. Hold feeding while investigating a damaged plant.
Inspect roots when persistent wetness, repeated collapse or a soft base warrants it. Avoid repeatedly unpotting an otherwise stable plant to prove that it is resting. A firm storage organ is an observation worth recording, but it does not promise regrowth or rule out disease elsewhere.
Soft roots or corm tissue require a different response
Maryland’s root-rot guidance describes deteriorating roots and the importance of correcting the wet growing conditions. If an inspection is justified, note firmness, the extent of damaged tissue and the condition of the remaining roots. Colour or smell alone cannot identify a pathogen.
Do not squeeze the corm repeatedly or carve into firm tissue to find a supposedly healthy colour. Soft or collapsing storage tissue is more concerning than an old leaf scar. Keep the declining plant separate, clean tools between plants, and seek a plant clinic or supplier’s help if the cause or usable tissue is unclear.
For a plant with viable roots, correct the draining container and medium as appropriate; the repotting guide explains the decision. An entirely soft storage organ has a different outlook from a leafless plant with firm tissue. No corm appearance guarantees recovery.
We do not recommend a routine cinnamon, peroxide or fungicide bath. Treatment choice depends on the problem and an appropriate label or professional diagnosis, rather than a generic regeneration recipe.
Inspect pests before buying another remedy
NC State names spider mites, mealybugs and aphids among possible problems. Look on both leaf surfaces and along joints; use a hand lens when necessary. Minnesota Extension’s inspection guidance supports checking leaves and containers and separating infested plants.
Use the pest-management guide after identifying a likely pest. Distorted growth or a brown margin alone cannot select a pesticide. Wear gloves when handling Alocasia and keep the plant away from children or animals that might chew it; the botanical profile documents its irritating and toxic properties.
Keep a record that changes your next decision
Note the botanical name, location, pot and medium, watering dates, new growth and affected leaves. Add a photograph of the base if you inspected it. Compare new tissue and the direction of the decline, rather than expecting old damage to disappear.
For a newly bought plant, follow the bringing-a-plant-home checklist. It separates arrival checks from optional purchases and routine care, without promising that every Alocasia will recover on a timetable.
References
- Royal Horticultural Society: How to Grow Alocasias
- NC State Plant Toolbox: Alocasia × mortfontanensis
- University of Maryland Extension: Root Rots of Indoor Plants
- University of Maryland Extension: Potting and Repotting Indoor Plants
- University of Minnesota Extension: Managing Insects on Indoor Plants